 |
|
|
|
Microsoft Remote Desktop Protocol (RDP) sessions facilitate seamless connections between remote users and Windows computers, allowing for remote desktop interaction, application access, and file sharing. Users can remotely control Windows desktops or servers from any location, enhancing productivity and collaboration across distributed teams. RDP is a prime target for malicious actors seeking unauthorized entry into systems, as the traditional user name and password authentication mechanism is prone to brute force and credential theft attacks. By implementing MFA, organizations add an extra layer of security and significantly reduce the risk of unauthorized access, even in the event of password compromise.
CyLock MFA for RDP serves as a crucial defence mechanism for organizations to mitigate risks, enhance security posture and secure the remote access against unauthorized infiltration and potential breaches in an increasingly interconnected digital environment.
CyLock MFA steps up as a vital solution, demanding users to confirm their identity through multiple distinct methods. This fortifies the login access to Linux Servers, marking an indispensable measure essential for combating the dangers of password compromise, ensuring adherence to industry regulations, and, above all, safeguarding sensitive data.
CyLock MFA supports the following scenarios during logon via RDP to Windows desktop or Server through CyLock CP, a custom credential provider built for enabling MFA:
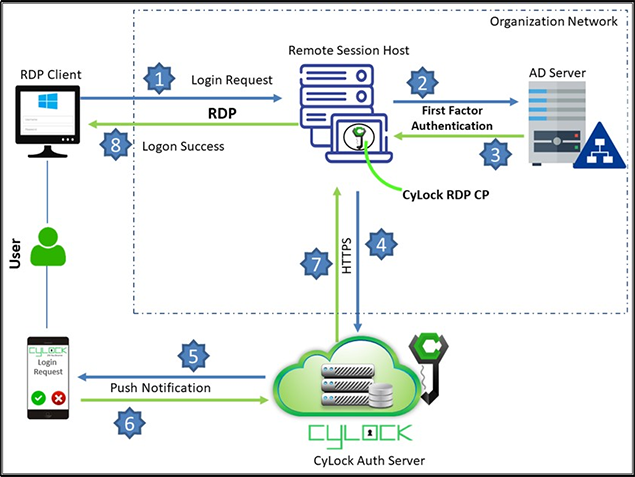
Figure 1- Deployment Architecture diagram for RDP
The CyLock MFA Credential Provider can be installed on a physical Windows Server. We recommend a system with at least 4 vCPU, 200 MB disk space, and 8 GB RAM. Windows Credential Provider supports the following operating systems:
Download the CyLock MFA Credential Provider component. Refer Prerequisites section above. After downloading, copy/move the Credential Provider Component to the respective system.
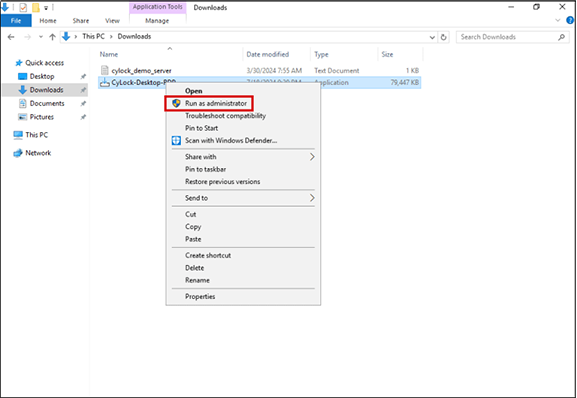
Figure 2 – Executing the Credential Provider
Note:
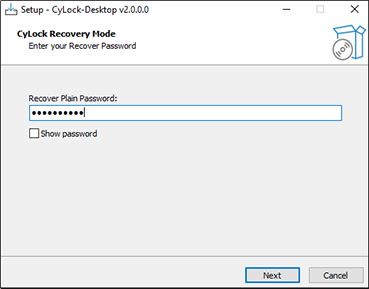
Figure 3 – Entering Recovery Password
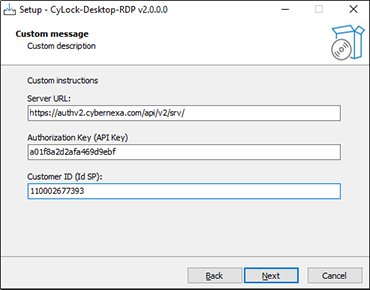
Figure 4 – Entering Auth Server URL, API Key and IDSP Key
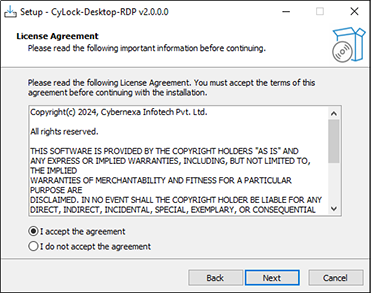
Figure 5 – Accepting License Agreement
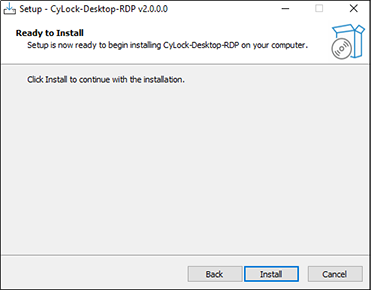
Figure 6 - Clicking on Install
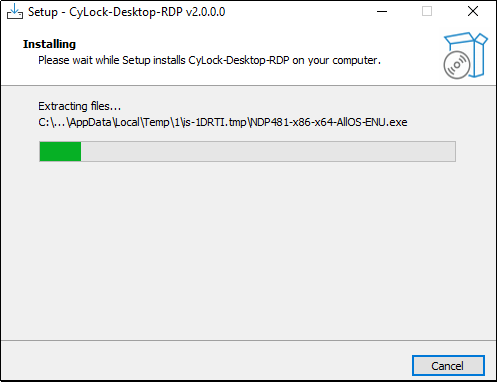
Figure 7 - Installing CyLock Credential Provider

Figure 8 - Completing the Installation
Test the Set up
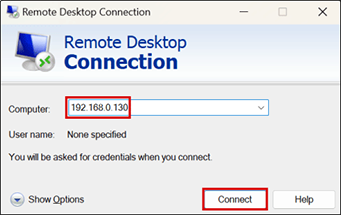
Figure 9 – Entering Windows Server IP Address
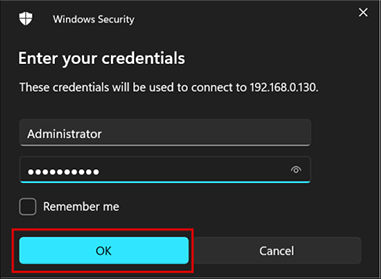
Figure 10 – Entering Login Credentials
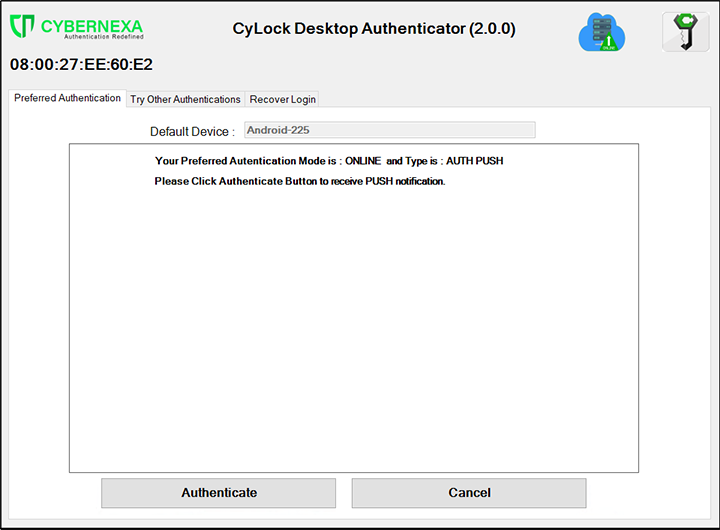
Figure 11 – Preferred Authentication Screen
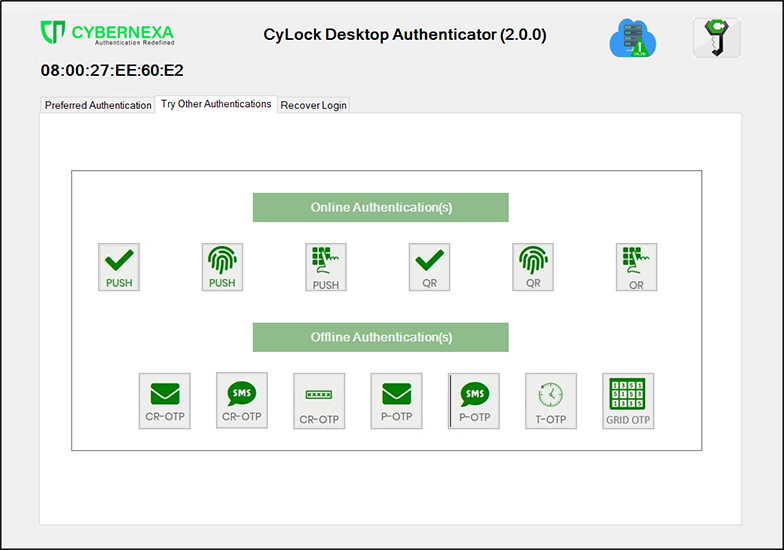
Figure 12 – Try Other Authentication Page
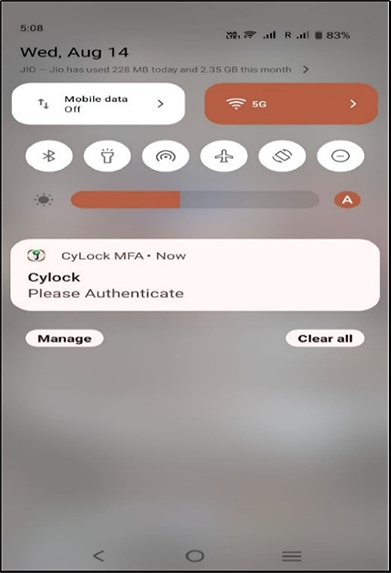
Figure 13 – Push Notification Request
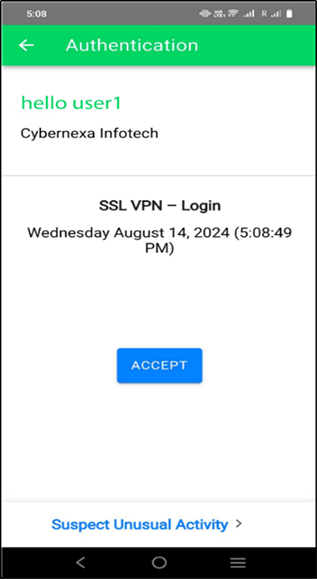
Figure 14 – Accepting Push Request
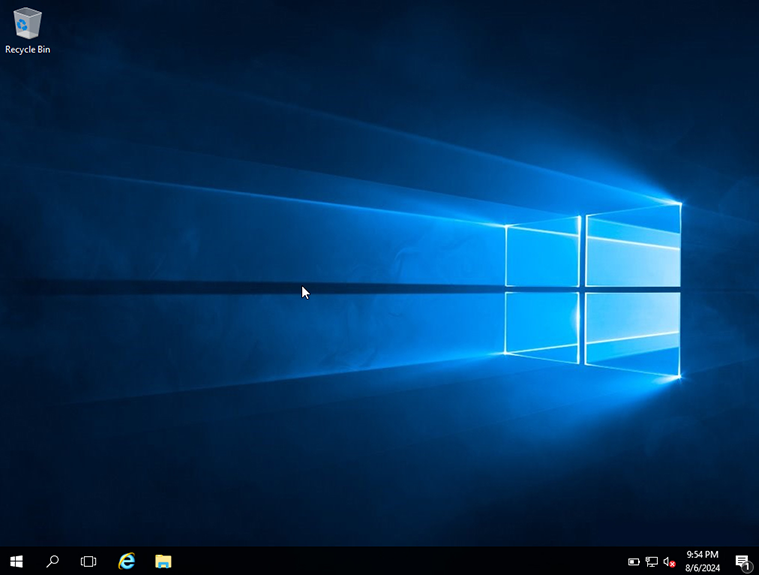
Figure 15 – Windows Desktop Screen